



 Staff Writer
 Well, the fact is that the chemical(s) used are highly toxic, with the ability to wipe-out many bacterial and microbial growth systems in your soil, which is a big NO NO!
Some water treatment facilities make use of chlorine and/or chloramine to assist with killing certain bacteria and other microbes in tap-water. The chemicals used are highly toxic, which is what helps to “kill the bad bugs”. This process is referred to as water chlorination.

So, basically we are cleaning our water supply by pumping it full of toxic chemicals. Sounds kind-of bad, right? Well, essentially it’s ‘a necessary evil’, given that it helps prevent the spreading of waterborne diseases such as cholera, dysentery, and typhoid. It’s also worth noting that most-all of the chlorine that was initially used to kill off the bacteria and microbes in the water would have evaporated by the time it gets to your tap. So while that H2O is in storage or transit, I think we can all agree that it is best to be chlorinated.
On the other hand, once you are ready to use said water, it is highly advisable that you make sure it is properly dechlorinated. Why, you ask? Well, the fact is that the chemical(s) used are highly toxic, with the ability to wipe-out many bacterial and microbial growth systems in your soil, which is a big NO NO!
How To Test For Chlorine/Chloramine Levels
Testing for chlorine levels in water is pretty simple provided that you have the right gear. If you have a pool at home, then you probably already know a bit about where I am going with this.
Grab your chlorine testing kit either from your garage or hit up the local pool shop, take a sample from the tap, and test it according to the instructions provided with your test.
This usually involves putting the water sample into a little tube and adding a specialised solution provided along-with the test itself (dpd – diethyl paraphenylene diamine) indicator test, using a comparator.
Basically, A tablet of DPD is added to a sample of water, colouring it red. The strength of colour is measured against standard colours on a chart to determine the chlorine concentration. The stronger the colour, the higher the concentration of chlorine in the water. Voila! Just don’t go bragging about your newfound chemistry skills on Twitter.. chances are, no one will care 😱😂
How To Dechlorinate Water
This is a pretty wide topic and usually depends on the purpose or application for the water. For the sake of keeping this post nice and short, I won’t get in too deep… promise…
Drinking
Reverse Osmosis / Activated Carbon Filter Systems

Reverse osmosis systems and activated carbon systems are both very good at removing chlorine from drinking water, with the former being my personal favourite. If you have the luxury of owning one of these systems, you will know exactly what I am talking about! Using these systems doesn’t require much effort beyond ensuring the filters are changed at the recommended intervals as per the user instructions provided. If you do not have an activated carbon filter or reverse osmosis filter system available to you for regular use, don’t worry, there’s a backup method waiting for you below.
Boiling Water

It’s not always granted that w will have access to the right filtration systems on an ongoing basis, so what can we do? Well, thankfully the answer is as simple as boiling the water… All you need to do is boil your water for around 20 minutes, this should be sufficient to remove the free chlorine residing in the water.
You may be wondering at this point, how it all works? I think it is easy enough to understand what is happening to the chlorine in the filter based scenarios, but how exactly does boiling the water help? Put simply, chlorine is a volatile chemical which means that it naturally dissipates, and when agitated in water it accelerates the evaporation process significantly. So, when we boil the water we are attempting to dechlorinate, the accelerated evaporation of the chlorine gas is facilitated by agitation created from the air bubbles, which form as a result of the water boiling.
General Use
Natural Dissipation
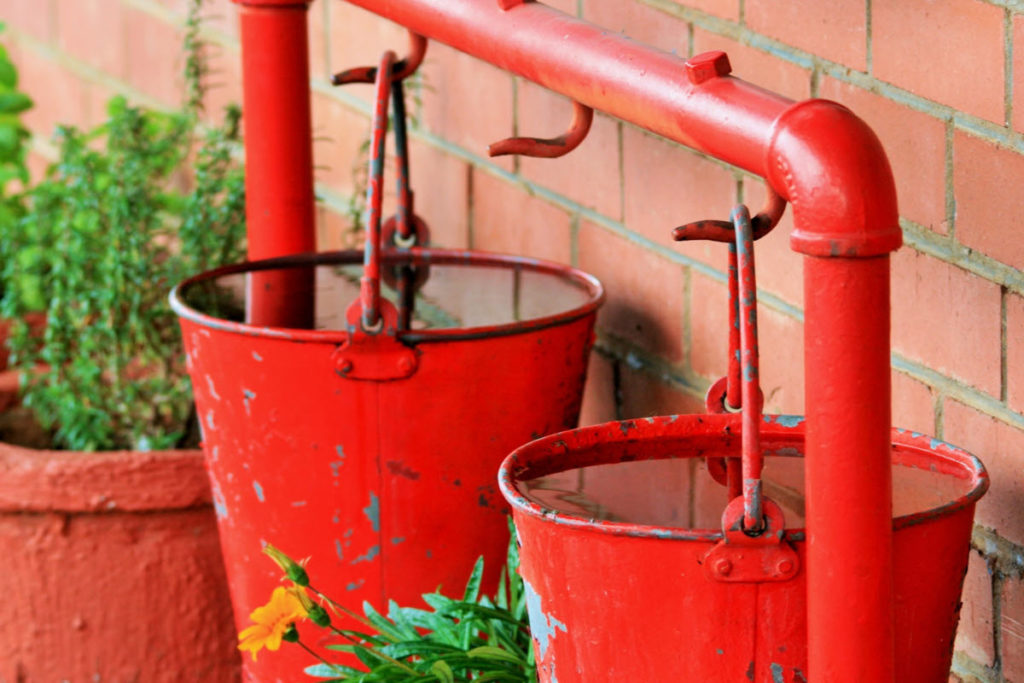
Dechlorinating water for general use is much less intensive, in-fact, you can get away with leaving your water in an open container, allowing the chlorine to dissipate naturally over time. Just remember that if you decide to use this method, try your best to store your container in a place where there is a minimal level of particle or debris present in the air around it, as to avoid potential contamination.
Ascorbic Acid (Vitamin C)
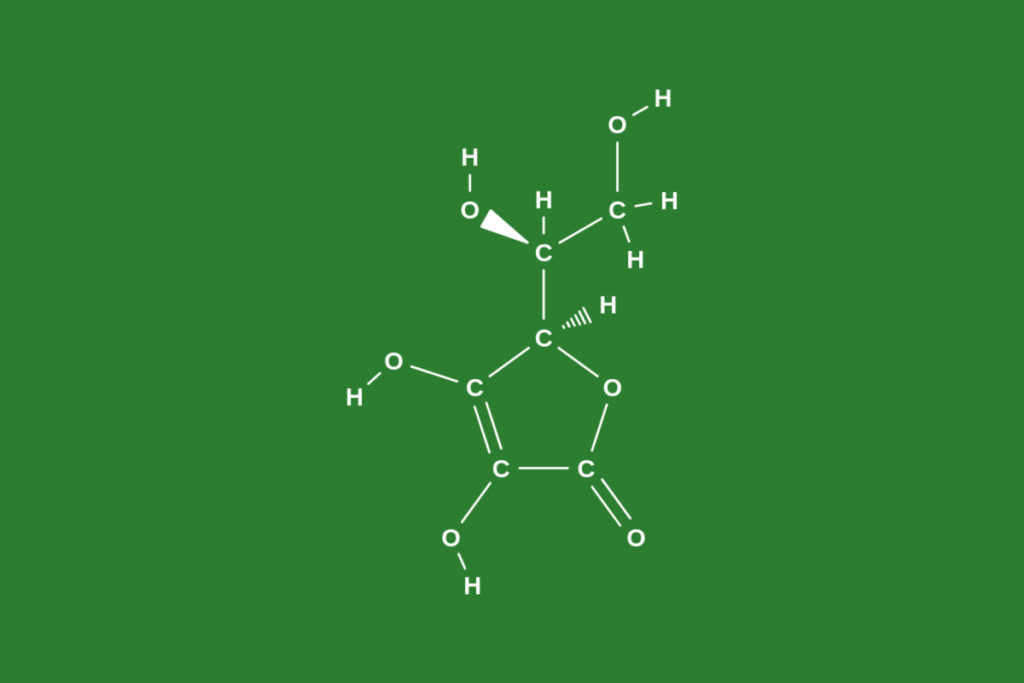
If you would like a faster method to follow, you could always make use of a dechlorination agent, Ascorbic Acid (Vitamin C) tends to work quite well. Just add 1 teaspoon (tsp) of Ascorbic acid per 3.8 litres of water (3.8 litres is equal to 1 gallon, for those whom cant handle the metric system;)) – Simply sprinkle the Ascorbic acid into your water and mix it in. Ascorbic acid basically neutralizes the chlorine (and chloramine, which is used as an alternative to chlorine in some areas) in the water.
This method is best used for watering your soil-based cannabis plants, or for adding to your cannabis hydroponic system.
Ultraviolet (UV) Light

Ultraviolet light waves are known to reduce both free chlorine and combined chlorine (chloramines) into byproducts that are easier to remove. If the wavelengths are forced to stay between 180 and 400 nm (nanometers) then the ultraviolet light produces photochemical reactions that dissociate free chlorine to form hydrochloric acid.
To get this process started, you will need to move your water as close to the UV light source as SAFELY possible. Remember that electricity and water are not great friends, use your brain and stay safe.





Interesting that a small effort can made a big impact!
Indeed, you would be surprised just how important it is to keep the biotic spectrum in your soil healthy! The results speak for themselves; give it a try 🙂